One awesome and helpful feature in SwiftUI that enhances user interaction is swipe actions. In this blog post, we’ll explore the world of SwiftUI swipe actions, we will learn how to implement them and customize them to fit into your application, so you can provide even more value for your users.
What is swiping action?
In SwiftUI, a swipe action refers to a user interface interaction where the user can perform actions by swiping on a view, such as a list item or a cell. This gesture-based interaction is commonly used to reveal additional options or actions associated with a specific item. SwiftUI provides a dedicated modifier called swipeActions to implement this feature.
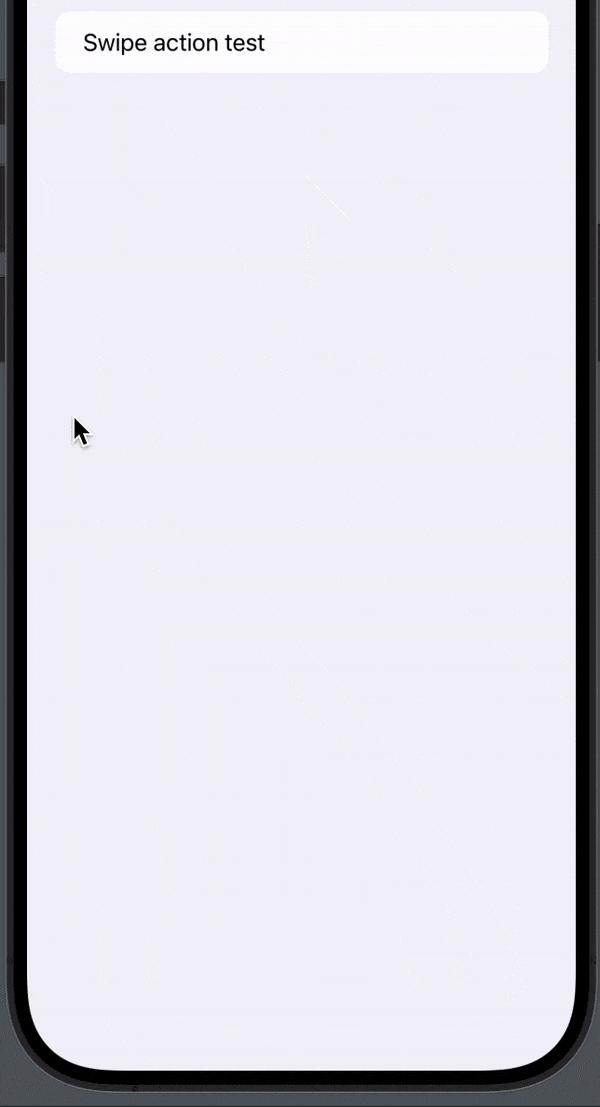
Here we have a basic example of a Swipe action in SwiftUI with one button:
import SwiftUI

struct SwipeActionsView: View {

    var body: some View {
        List {
            Text("Swipe action test")
                .swipeActions {
                    Button {
                        print("I just swiped")
                    }label: {
                        Text("Hello swipe")
                    }
                }
        }
    }
}
The result:

How do I delete a swipe action in SwiftUI?
One of the things you can find when swiping elements is a delete feature. There are two ways of creating a swipe to delete action in SwiftUI, you can either use .onDelete or .swipeAction.
Using .onDelete you get the red button and remove it from a list by default, but you can only use it on a ForEach. However, by using .swipeAction, you create the delete button and the same way as any other swipe action and you can use it without a ForEach.
It’s up to you what will fit the best in your application and how you work. Personally, I always use the .swipeAction because I can use it elsewhere and the logic will be the same for all my swipe actions throughout the application.
.onDelete example
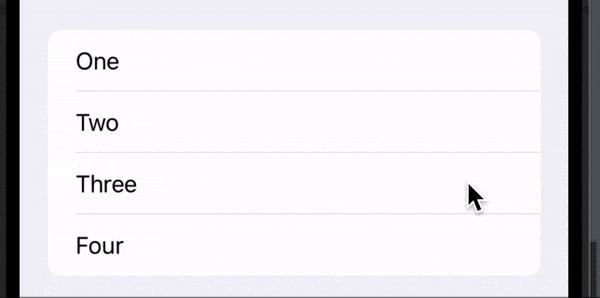
In the following example we will be using .onDelete:
import SwiftUI

struct SwipeActionsView: View {
    @State var items: [String] = ["One","Two","Three","Four"]
    var body: some View {
        List {
            ForEach(items, id: \.self) { item in
                Text(item)

            }
            .onDelete(perform: { indexSet in
            })
        }
    }
}
The result:
Swipe to delete using .swipeAction
In the following example we will create the swipe on delete by using .swipeAction:
import SwiftUI

struct SwipeActionsView: View {

    var body: some View {
        List {
            Text("Swipe action test")
                .swipeActions {
                    Button("", systemImage: "trash", role: .destructive, action: {
                        print("Swipe to delete")
                    })
                }
        }
    }
}
The result:

SwiftUI swipe actions background color
Changing the background color for your swipe actions is easy and you can choose the color that fits into your application.
In the following example, we will create a swipe action with a green background color and a white checkmark:
import SwiftUI

struct SwipeActionsView: View {

    var body: some View {
        List {
            Text("Swipe action test")
                .swipeActions {
                    Button {
                        print("Sup")
                    }label: {
                        Image(systemName: "checkmark")
                    }
                    .tint(.green)
                }
        }
    }
}
The result:

SwiftUI swipe actions full swipe
SwiftUI’s swipe actions have a feature called full swipe which enables the user to swipe all the way and then the swipe action is executed. The swipe action that will be executed is the first one added, it’s the one on the far right.
By default, full swipe is enabled, but if you want to disable it, you can simply use the allowsFullSwipe parameter when creating a swipe action.
In the following example, I will show you how to create a swipe action with fill sipe disabled:
.swipeActions(allowsFullSwipe: false) {
    Button("", systemImage: "trash", role: .destructive, action: {
            print ("Delete")
    })
}
SwiftUI swipe right
By default, the swipe actions can be found by swiping from the right to the left, but in some cases, you want to be able to swipe from left to right. In those cases, you can use the edge parameter when implementing your swipe actions.
In the following example, we will create a swipe action where you have to swipe from left to right:
.swipeActions(edge: .leading, allowsFullSwipe: false) {
    Button("", systemImage: "trash", role: .destructive, action: {
            print ("Delete")
    })
}
SwiftUI multiple swipe actions
You can add as many swipe actions as you want, all you need to do is to add multiple buttons. But be careful, because it can quickly be too much. So a rule of thumb, if you have more than 2 swipe actions, put them inside a menu that shows when clicked — read the next section for this solution.
In the following example, we will create 2 different swipe actions — a trash can and a checkmark:
import SwiftUI

struct SwipeActionsView: View {

    var body: some View {
        List {
            Text("Swipe action test")
                .swipeActions {
                    Button("", systemImage: "trash", role: .destructive, action: {
                        print ("Delete")
                    })

                    Button {
                        print("Sup")
                    }label: {
                        Image(systemName: "checkmark")
                    }
                    .tint(.green)

                }
        }
    }
}
The result:

SwiftUI multiple swipe menu
As I mentioned in the section above if you have 3 or more swipe actions it can be a great idea to fit them inside a popup menu.
In the following example, we will create a swipe action called “Menu” and when pressed we will present a confirmationDialog where the user can choose what they want to do:
import SwiftUI

struct SwipeActionsView: View {
    @State var showMenu: Bool = false
    var body: some View {
        List {
            Text("Swipe action test")

            .swipeActions {
                Button {
                    showMenu.toggle()
                }label: {
                    Text("Menu")
                }

                Button("", systemImage: "trash", role: .destructive, action: {
                    print ("Delete")
                })

                Button {
                    print("Sup")
                }label: {
                    Image(systemName: "checkmark")
                }
                .tint(.green)

            }
        }
        .confirmationDialog("Menu of options",
                            isPresented: $showMenu,
                            titleVisibility: .visible) {
            Button {
               print("menu one")
            }label: {
                Text("Menu one")
            }
            Button {
               print("menu two")
            }label: {
                Text("Menu two")
            }
            Button {
               print("menu three")
            }label: {
                Text("Menu three")
            }
        }

    }
}
The result: