In today’s digital landscape, email remains a cornerstone of communication, seamlessly connecting users worldwide. This guide caters to developers of all skill levels, offering a concise walkthrough from project setup to email composition and dispatch within your SwiftUI app.
In this blog post, we’ll explore how to send emails using SwiftUI, both with and without an attachment.
How to Send Email in SwiftUI
We will split our code into a mail helper class and a simple SwiftUI view. The mail helper class will create an MFMailComposeViewController and open the native mail app with the Subject, Body, and To fields pre-filled. The simple SwiftUI view will contain three text fields that take Subject, To and Body for the mail.
Create MailHelper in SwiftUI
Our mailHelper class will be fairly simple and only contain three functions: sendEmail, getRootViewController and mailComposeController.
In the sendEmail function, we compose the mail using MFMailComposeViewController
In the getRootViewController function, we use to present the mail app from our SwiftUI app.
In the mailComposeController function, we get the callback state from the mail application: sent, canceled or failed.
import Foundation
import MessageUI

class MailHelper: NSObject, MFMailComposeViewControllerDelegate {
    public static let shared = MailHelper()
    private override init() { }

    func sendEmail(subject: String, body: String, to: String){
        guard MFMailComposeViewController.canSendMail() else {
            print("Cannot send mail")
            return
        }

        let mailComposeViewController = MFMailComposeViewController()
        mailComposeViewController.mailComposeDelegate = self
        mailComposeViewController.setToRecipients([to])
        mailComposeViewController.setSubject(subject)
        mailComposeViewController.setMessageBody(body, isHTML: false)
        MailHelper.getRootViewController()?.present(mailComposeViewController, animated: true, completion: nil)
    }

    static func getRootViewController() -> UIViewController? {
        guard let firstScene = UIApplication.shared.connectedScenes.first as? UIWindowScene else {
            return nil
        }

        guard let firstWindow = firstScene.windows.first else {
            return nil
        }

        let viewController = firstWindow.rootViewController
        return viewController
    }

    func mailComposeController(_ controller: MFMailComposeViewController, didFinishWith result: MFMailComposeResult, error: Error?)
    {
        switch (result) {
        case .sent:
            print("email sent.")
            break
        case .cancelled:
            print("email cancelled.")
            break
        case .failed:
            print("failed sending email")
            break
        default:
            break
        }
        controller.dismiss(animated: true, completion: nil)
    }
}
Create view to send mail
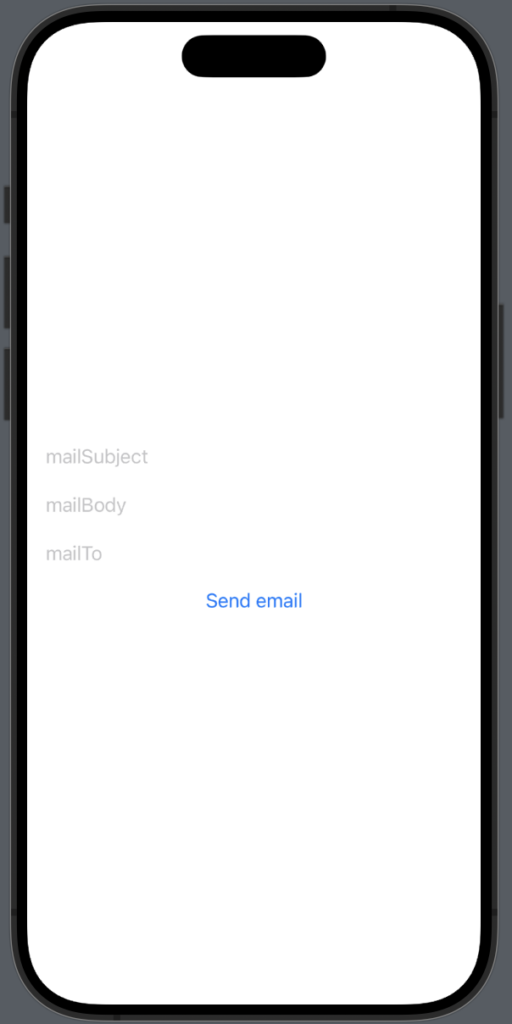
Now it’s time to create a simple SwiftUI view where you can input three different texts: Subject, To and Body. We will also create a button that executes the sendEmail function in the MailHelper:
import SwiftUI

struct SendMailView: View {
    @State var mailSubject: String = ""
    @State var mailBody: String = ""
    @State var mailTo: String = ""

    var body: some View {
        VStack(spacing: 20) {
            TextField("mailSubject", text: $mailSubject)
            TextField("mailBody", text: $mailBody)
            TextField("mailTo", text: $mailTo)
            Button {
                MailHelper.shared.sendEmail(
                    subject: mailSubject,
                    body: mailBody,
                    to: mailTo
                )
            }label: {
                Text("Send email")
            }
        }
        .padding()
    }
}
The result:

NB: Do not test via the simulator — connect directly to your phone.
When you click the button your phone will open the native mail application and fill out the Subject, To and body. If your phone can’t send an email f.eks. if you have not setup the mail app, then it will simply write “Cannot send mail” in the console.
How to do email validation in Swift?
We’ll validate the emails by using regex and NSPredicate. We’ll make a function called isValidEmail() inside the MailHelper class – the function will return true if the mail is valid and false if it’s not.
func isValidEmail(_ email: String) -> Bool {
    let emailRegEx = "[A-Z0-9a-z._%+-]+@[A-Za-z0-9.-]+\\.[A-Za-z]{2,64}"
    let emailPredicate = NSPredicate(format:"SELF MATCHES %@", emailRegEx)
    return emailPredicate.evaluate(with: email)
}
Now we just need to implement this function in our sendEmail() function. We can do it quite easy for our self by just adding it to the first guard like so:
guard MFMailComposeViewController.canSendMail() && isValidEmail(to) else {
    print("Cannot send mail")
    return
}
The complete function:
    func sendEmail(subject: String, body: String, to: String, attachment: EmailAttachmentModel?){
        guard MFMailComposeViewController.canSendMail() && isValidEmail(to) else    {
            print("Cannot send mail")
            return
        }

        let mailComposeViewController = MFMailComposeViewController()
        mailComposeViewController.mailComposeDelegate = self
        mailComposeViewController.setToRecipients([to])
        mailComposeViewController.setSubject(subject)
        mailComposeViewController.setMessageBody(body, isHTML: false)

        if attachment != nil {
            mailComposeViewController.addAttachmentData(attachment!.data, mimeType: attachment!.mimeType, fileName: attachment!.fileName)
        }
        MailHelper.getRootViewController()?.present(mailComposeViewController, animated: true,  completion: {

        })
    }
SwiftUI send email with an attachment
Now we have created a simple application that can compose an email and parse the mail to the native mail application so you can send the email.
Now it’s time to add the possibility of adding an attachment to our email — f.eks. if you want your users to have the ability to attach an image to the mail.
In the following example, we expand our sendMail function so our sendMail function can add an attachment and in our simple SwiftUI view, we will create the ability to select an image and pass that image to the sendMail function.
EmailAttachmentModel:
struct EmailAttachmentModel: Codable {
    var data: Data
    var mimeType: String
    var fileName: String
}
The new sendEmail function:
func sendEmail(subject: String, body: String, to: String, attachment: EmailAttachmentModel?){
        guard MFMailComposeViewController.canSendMail() else {
            print("Cannot send mail")
            return
        }

        let mailComposeViewController = MFMailComposeViewController()
        mailComposeViewController.mailComposeDelegate = self
        mailComposeViewController.setToRecipients([to])
        mailComposeViewController.setSubject(subject)
        mailComposeViewController.setMessageBody(body, isHTML: false)

        if attachment !=  nil {
            mailComposeViewController.addAttachmentData(attachment!.data, mimeType: attachment!.mimeType, fileName: attachment!.fileName)
        }
        MailHelper.getRootViewController()?.present(mailComposeViewController, animated: true,  completion: {

        })
    }
Now our mailHelper class can handle attachments that our mailHelper class.
Wrap up sending email via SwiftUI
In the blog post, we learned how to create a simple SwiftUI that can create an email and parse that mail to the native mail application.
We have created a mail helper class you can easily use in different places inside your application and we have also made the possibility to create some kind of error handling if the mail did not send or the user canceled the mail.
I hope you can use this guide in your next application — happy coding 🙂