SwiftUI PhotoPicker is a powerful package for seamlessly integrating photo and media selection capabilities into your applications.
In this blog post, we’ll dive into how you can implement PhotoPicker and how you let the user pick a single image or select multiple images and of course how you can filter what kind of images they can select.
Basic SwiftUI PhotoPicker example
Let’s dive right into a basic implementation of the PhotoPicker. Working with photos in SwiftUI is fairly easy. Apple have provided pretty much all we need in one simple package called PhotosUI.
In the following example we will import PhotosUI, create a variable to hold the picked photo and create a button that shows the PhotoPicker:
import SwiftUI
import PhotosUI

struct PhotoPickerContent: View {
    @State private var selectedPhoto: PhotosPickerItem? = nil
    var body: some View {
        PhotosPicker(
            selection: $selectedPhoto,
            matching: .images,
            photoLibrary: .shared()) {
                Text("Select a photo from PhotoPicker")
            }
    }
}
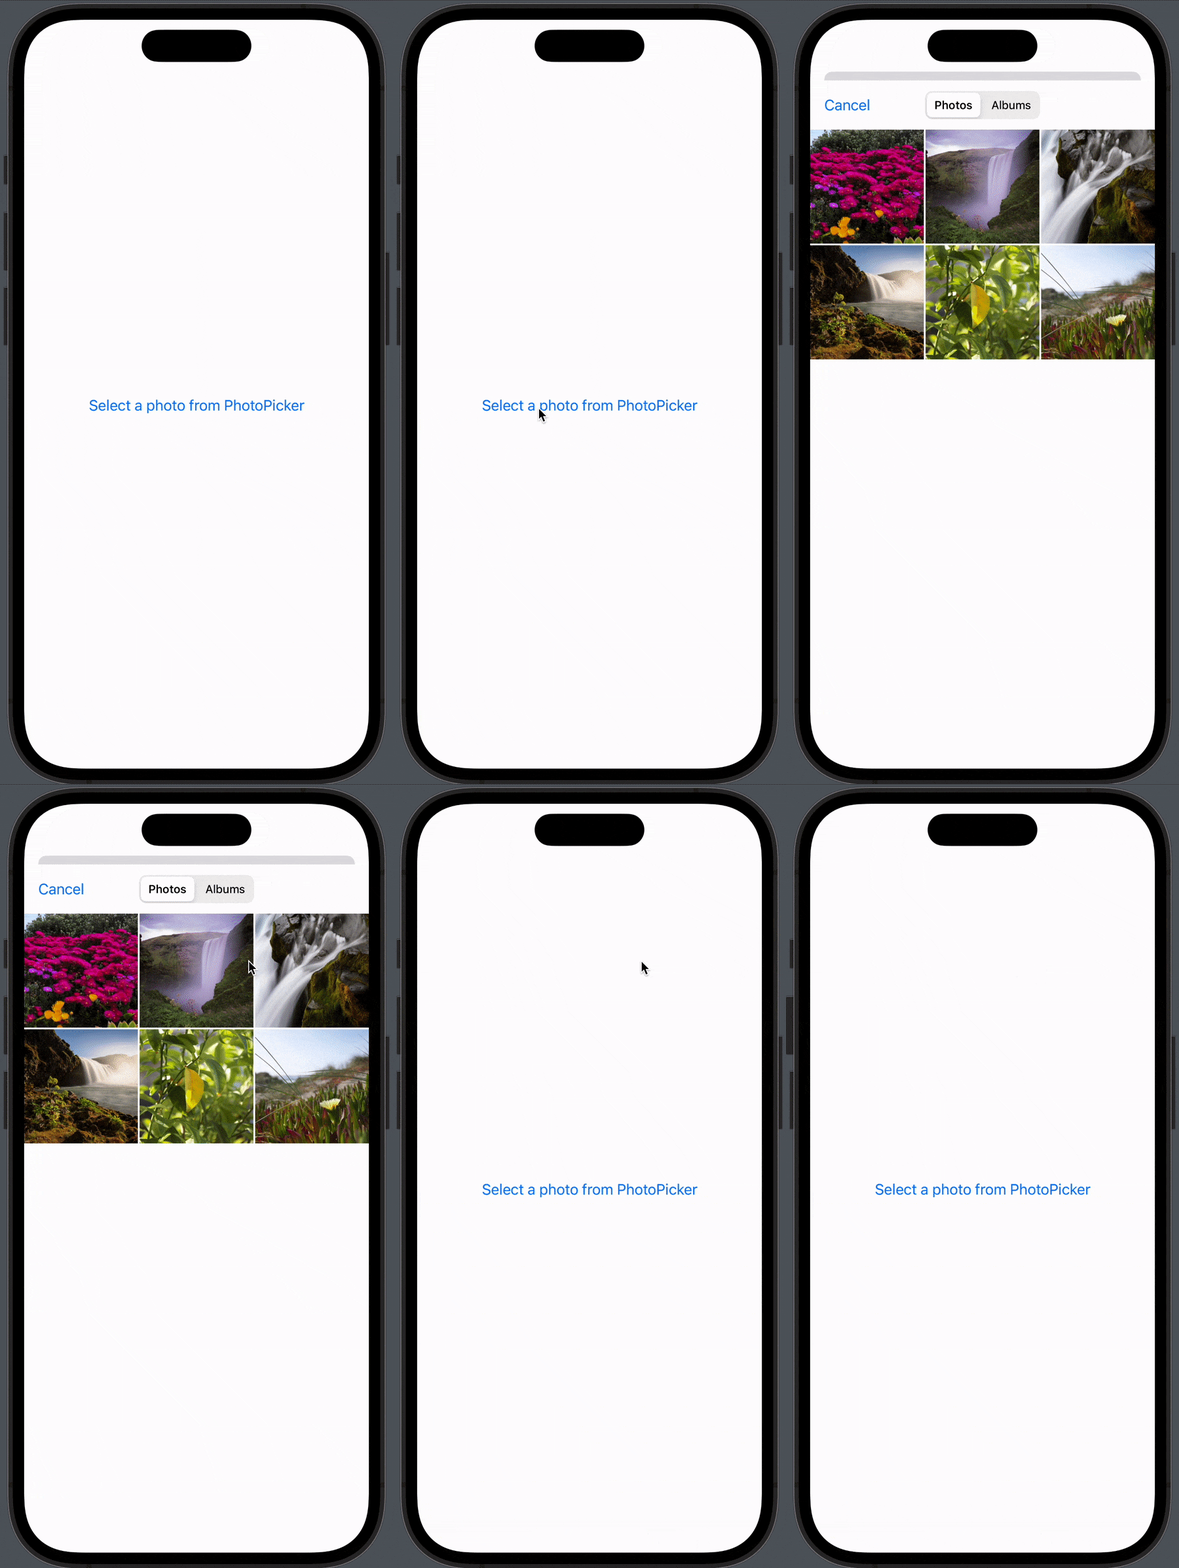
The result:

Working with the selected image
Now we have created a way for the user to pick a image, we want to work with it — like send it to an API or show the user what they picked.
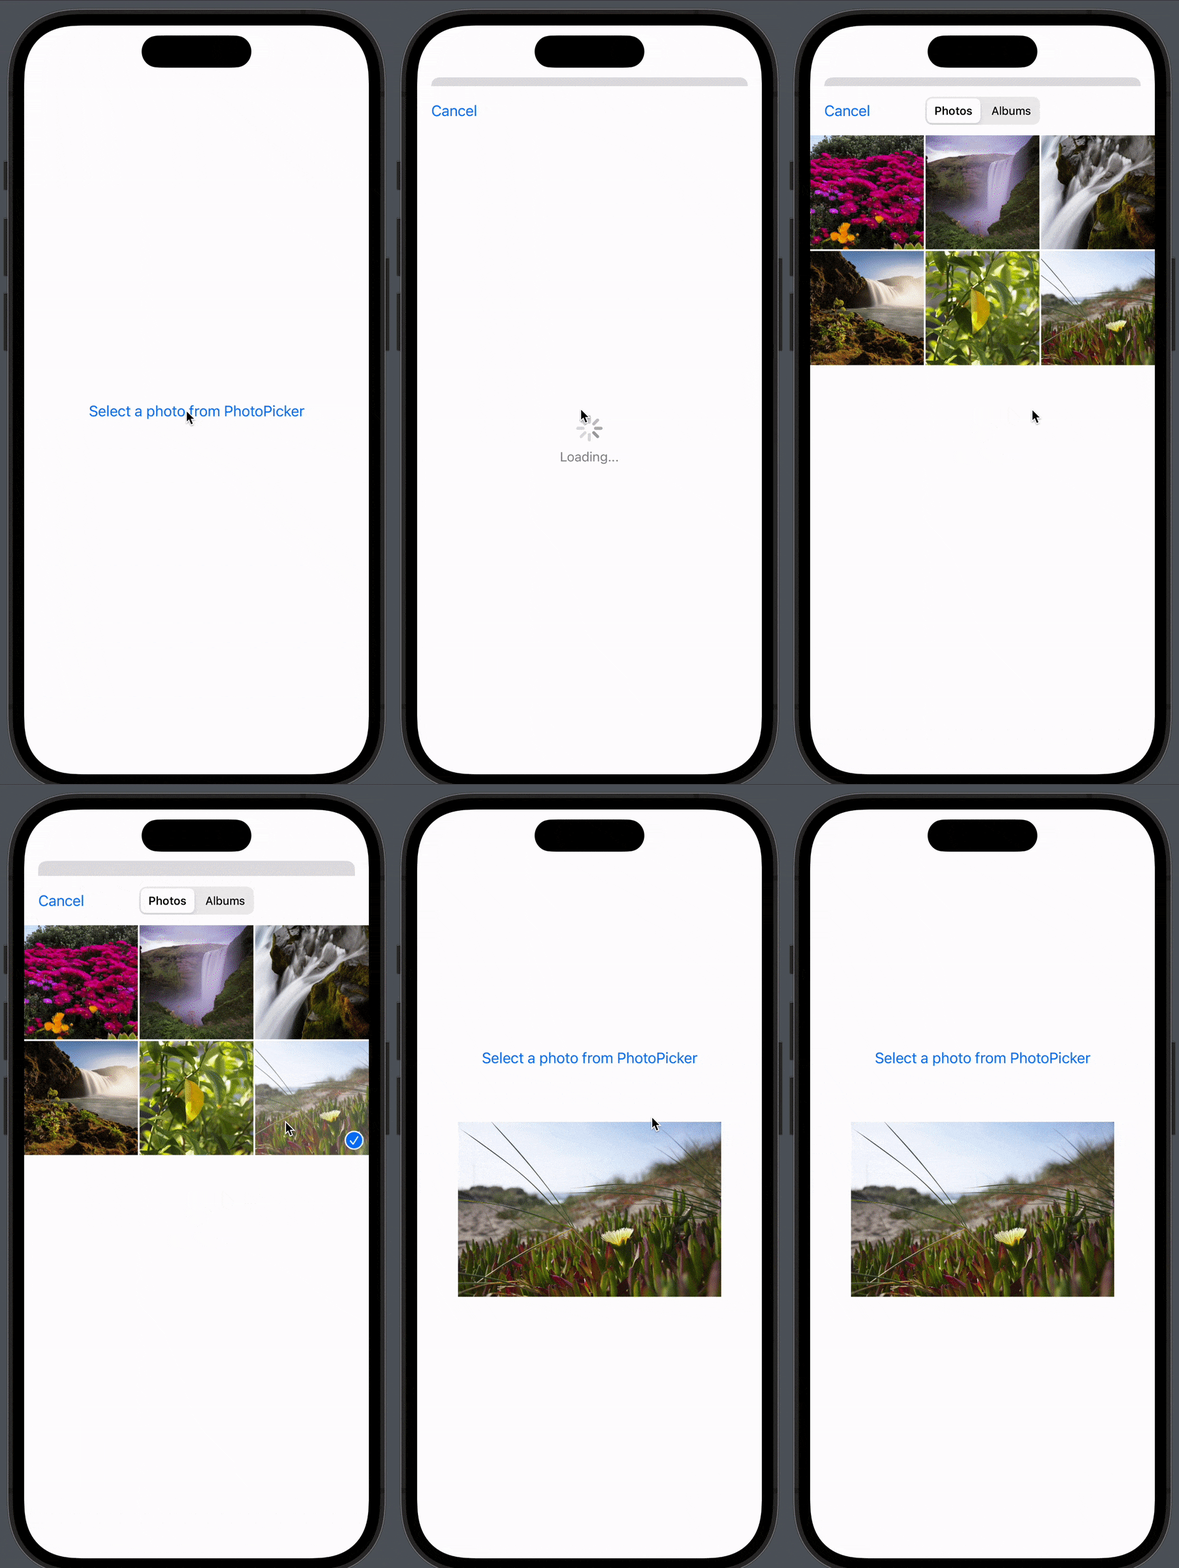
In the following example we will simply display the image to the user. We will do that by creating a .onChange that listen to the selectedPhoto variable and when it’s not nil then we convert the image data to a UIImage and use that in a Image() — let we me show you:
import SwiftUI
import PhotosUI

struct PhotoPickerContent: View {
    @State private var selectedPhoto: PhotosPickerItem? = nil
    @State var uiImage: UIImage?

    var body: some View {
        VStack {
            PhotosPicker(
                selection: $selectedPhoto,
                matching: .any(of: [.images, .not(.livePhotos)]),
                photoLibrary: .shared()) {
                    Text("Select a photo from PhotoPicker")
                }

            if uiImage != nil {
                Image(uiImage: uiImage!)
                    .resizable()
                    .scaledToFit()
                    .frame(width: 300, height: 300)
            }
        }
        .onChange(of: selectedPhoto) { result in
            Task {
                do {
                    if let data = try await selectedPhoto?.loadTransferable(type: Data.self) {
                        if let uiImage = UIImage(data: data) {
                            self.uiImage = uiImage
                        }
                    }
                } catch {
                    print(error.localizedDescription)
                    selectedPhoto = nil
                }
            }
        }
    }
}
The result:

How to implement filtering
In the example above we have told the PhotoPicker we want to choose from the images on the phone, but maybe you want to pick a video or a screenshot.
Apple have provided us a easy way to customize our PhotoPicker so we can show the user the right type of media we want them to use — we do that by using the matching parameter.
How to pick video with PhotoPicker
If you want to use to pick a video, you simply use the .videos in matching:
PhotosPicker(
    selection: $selectedPhoto,
    matching: .videos,
    photoLibrary: .shared()) {
        Text("Select a photo from PhotoPicker")
}
How to pick screenshots with PhotoPicker
Let’s say you ask your user for a screenshot, how cool would it be if you only showed screenshots in the PhotoPicker?
You guessed it, really cool and we can do it by using .screenshots:
PhotosPicker(
    selection: $selectedPhoto,
    matching: .videos,
    photoLibrary: .shared()) {
        Text("Select a photo from PhotoPicker")
}
How to filter on videos and images
Of course Apple have provided us with a way of filtering only on certain categories like only images and videos or maybe you want the user to select from images but filter live photos away.
You can do that by using: .any(of: [PHPickerFilter]):
matching: .any(of: [.images, .videos]) //Will show images and videos
matching: .any(of: [.images, .not(.livePhotos)]) // Filter away live photos
So by using the matching parameter you can customise your PhotoPicker to your specific needs and make sure the users pick the right kind of media you need.
SwiftUI PhotoPicker multiple images
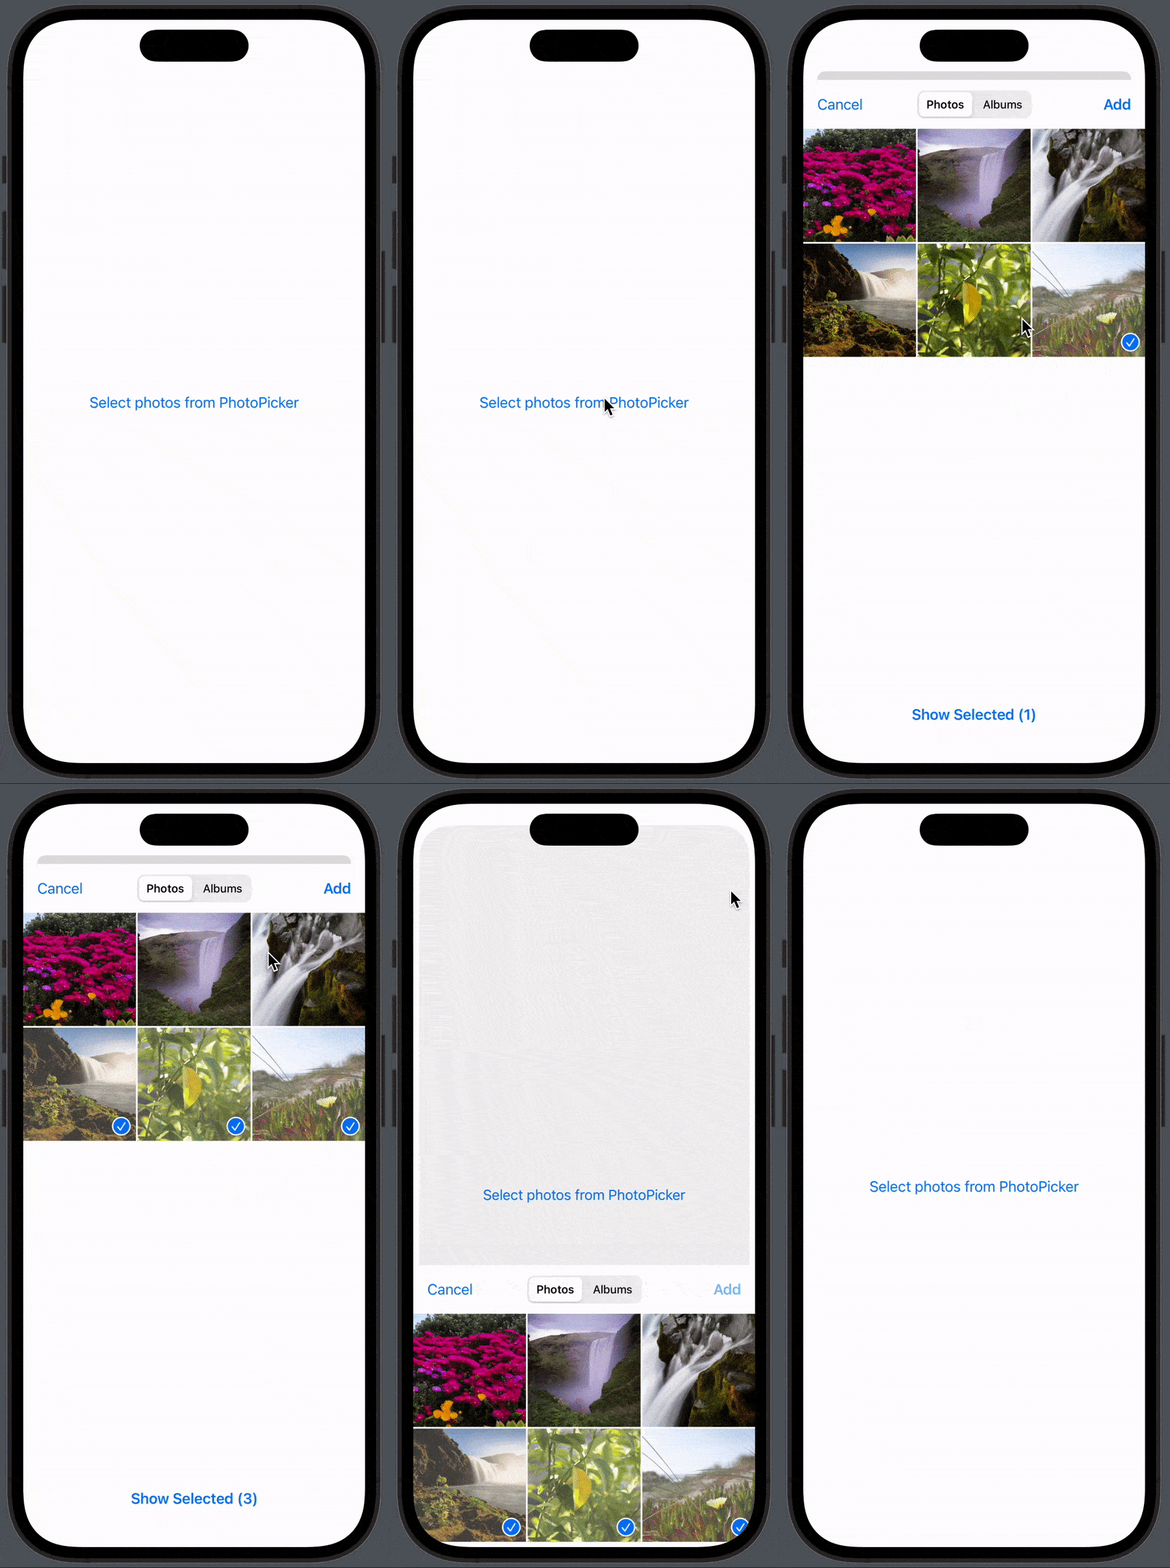
If you want the users to have the ability to choose multiple images you can do that by simply changing our selectedPhoto variable to instead of holding a PhotosPickerItem it can hold a array of PhotosPickerItem.
import SwiftUI
import PhotosUI

struct PhotoPickerContent: View {
     @State private var selectedPhotos = [PhotosPickerItem]()
    var body: some View {
        PhotosPicker(
            selection: $selectedPhotos,
            matching: .images,
            photoLibrary: .shared()) {
                Text("Select a photo from PhotoPicker")
            }
    }
}
The result:

Working with multiple images from PhotoPicker
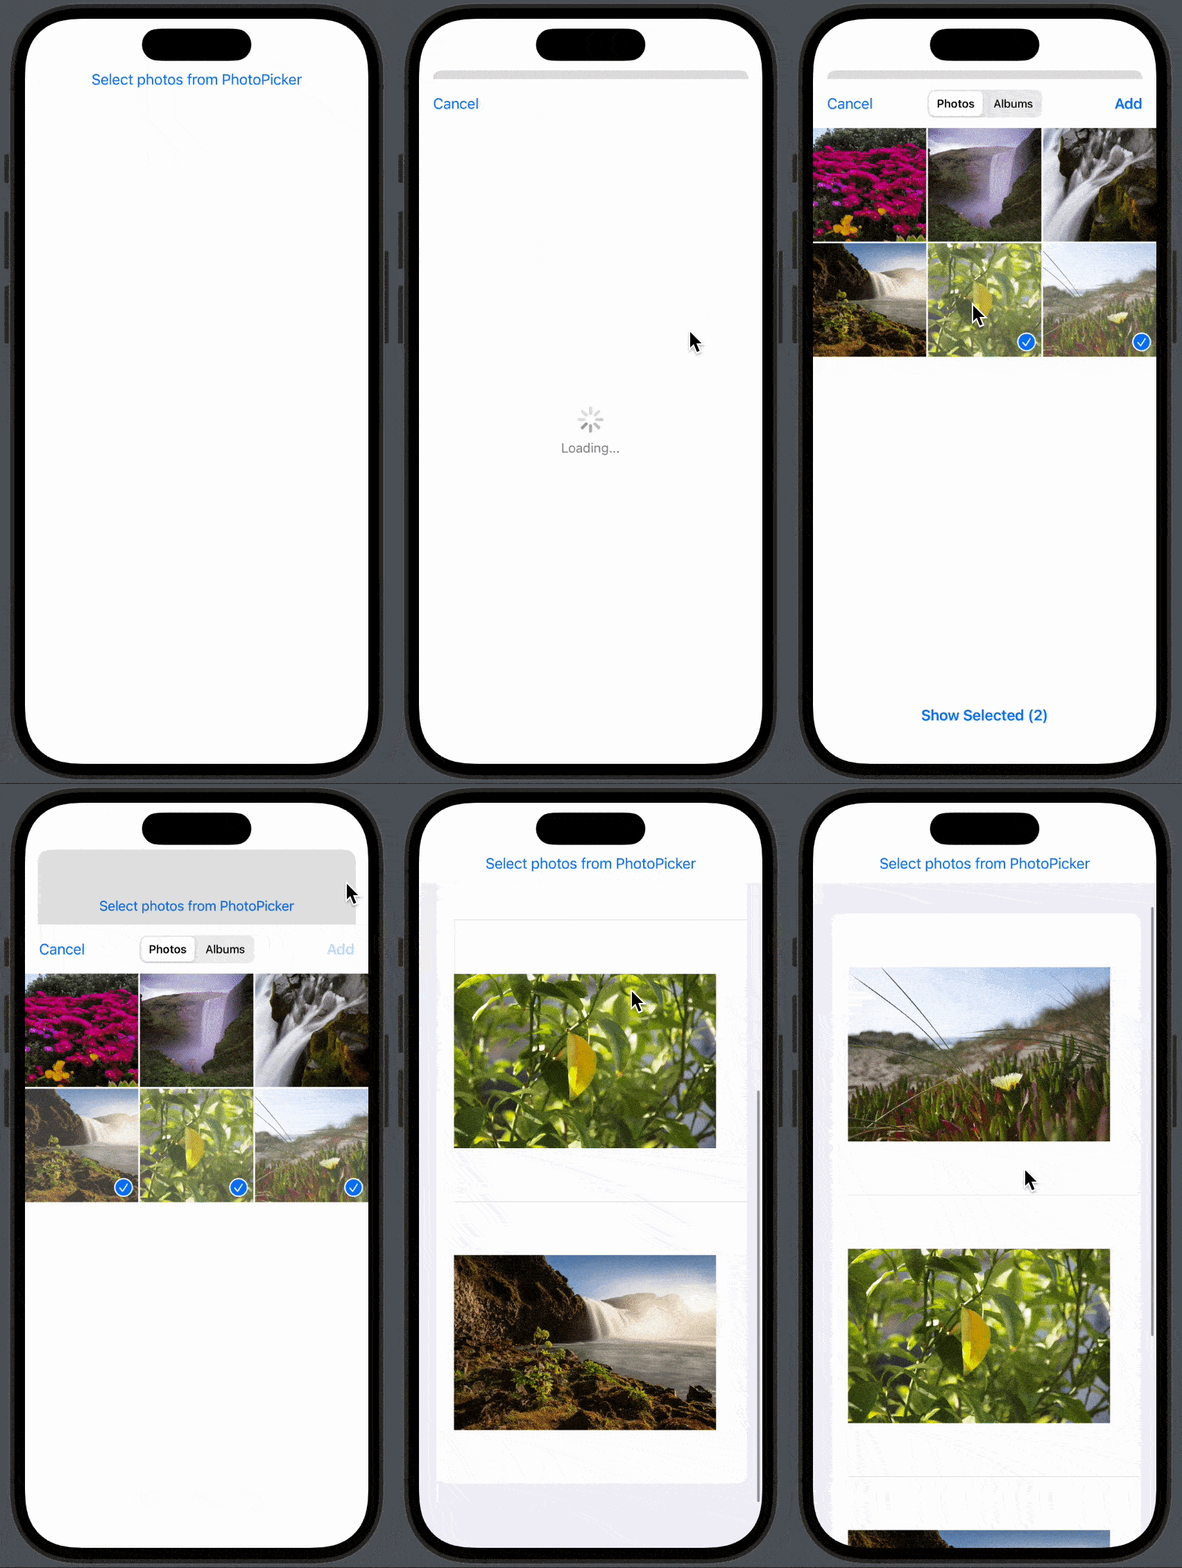
Now we have the ability to select multiple images, now we just need to work with them.
It’s pretty straight forward, we just need to put everything inside some loops:
struct PhotoPickerContent: View {
    @State private var selectedPhotos = [PhotosPickerItem]()
    @State var uiImages: [UIImage]

    var body: some View {
        VStack {
            PhotosPicker(
                selection: $selectedPhotos,
                matching: .any(of: [.images, .not(.livePhotos)]),
                photoLibrary: .shared()) {
                    Text("Select photos from PhotoPicker")
                }

            List(uiImages, id: \.self) { photo in
                Image(uiImage: photo)
                    .resizable()
                    .scaledToFit()
                    .frame(width: 300, height: 300)
            }
        }
        .onChange(of: selectedPhotos) { result in
            uiImages.removeAll()
            Task {
                for photo in selectedPhotos {
                    do {
                        if let data = try await photo.loadTransferable(type: Data.self) {
                            if let uiImage = UIImage(data: data) {
                                self.uiImages.append(uiImage)
                            }
                        }
                    } catch {
                        print(error.localizedDescription)
                    }

                }

            }
        }
    }
}
The result:

Conclusion on SwiftUI PhotoPicker
When creating iOS apps today, it’s hard not to integrate with some kind of media at some point in time, and thank you Apple for making it so easy to let our users pick images right of their phone.
I hope you enjoyed this article about SwiftUI PhotoPicker and I really hope you can use it in your app — if you think there is anything missing or have questions, don’t hesitate to reach out.