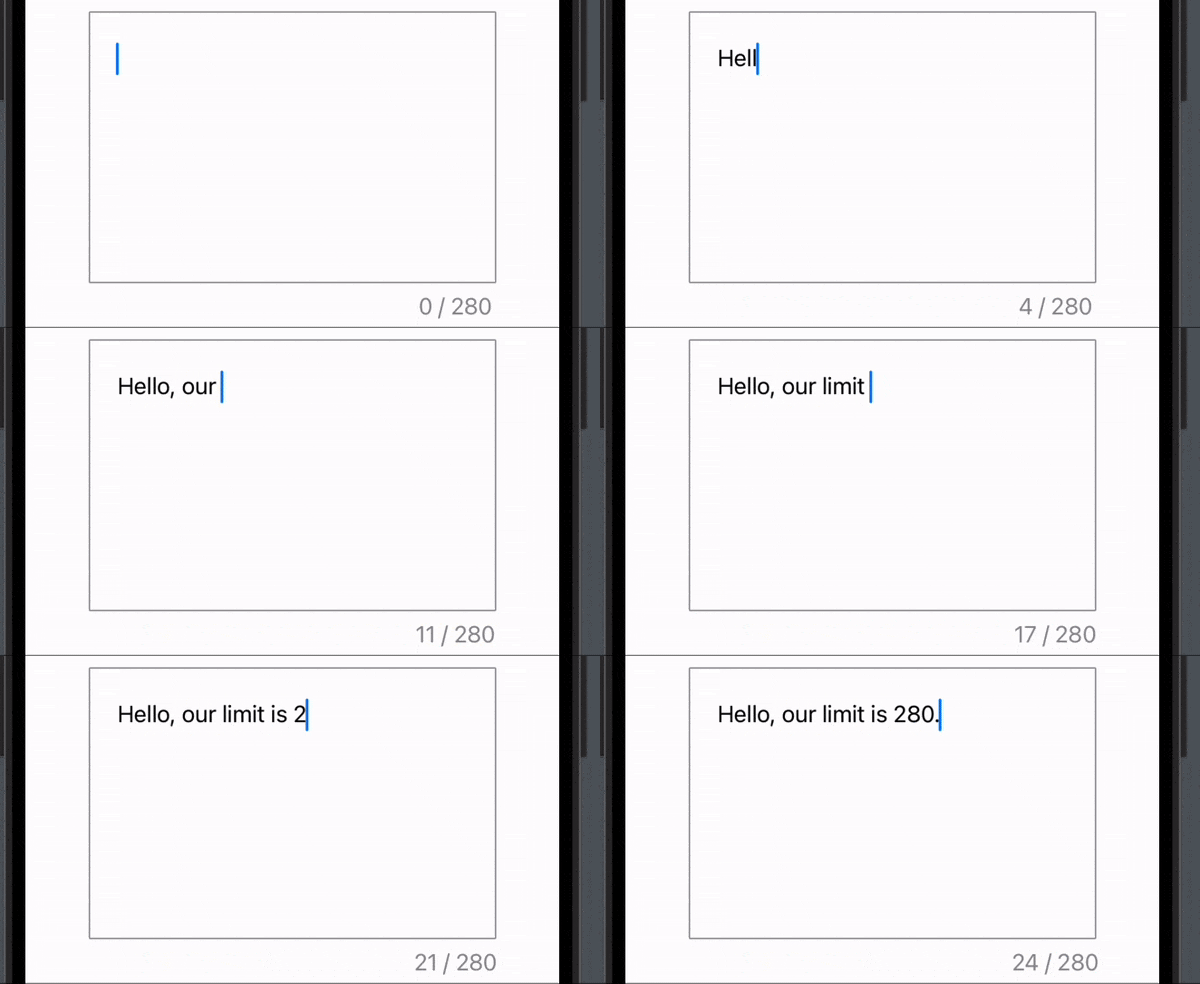
SwfitUI TextEditor is a great tool for letting your users edit large text elements, but sometimes you want to limit the character count — your backend API might have a limit. For example, Twitter (now X) has a character limit of 280.
In this blog post, you will learn how to create a TextEditor with a limit of 280 characters. We’ll create the TextEditor in its own view so you can easily use it in different places inside your application. We will also create the character limit as a custom modifier — that way you can have different text editors with different limits.
Create a SwiftUI TextEditor with character limit
Before we begin let’s break down the work we have to do to achieve our goal of creating a character limit of 280.
Firstly we’ll create a TextEditor with a gray border and rounded corners. Next, we’ll use the onChange modifier to count how many characters the user has typed and then do so that the user can’t input anymore if the limit is reached.
Finally, we will make it visible to the user how many characters they have entered and how many they have left.
Create the TextEditor view
Let’s start by making a TextEditor with a border, rounded corners, and a frame that’s 300×200:
import SwiftUI

struct TextEditorTextLimitView: View {
    @State var text: String = ""

    var body: some View {
        TextEditor(text: $text)
            .padding()
            .frame(width: 300, height: 200)
            .border(Color.gray, width: 1)
            .clipShape(RoundedRectangle(cornerRadius: 1, style: .continuous))
    }
}
The result:

Create the character limit
To create the character limit we will use the .onChange modifier to track the current character count and then we will limit the user, so they can’t input anymore.
We have to keep in mind that there are two scenarios we need to address: Limit when the user enters text and limit when the user uses paste. We will do this by only taking the first characters that match the character limit of the typed text:
import SwiftUI

struct TextEditorTextLimitView: View {
    @State var text: String = ""
    @State var characterLimit: Int = 280

    var body: some View {
        TextEditor(text: $text)
            .padding()
            .frame(width: 300, height: 200)
            .border(Color.gray, width: 1)
            .clipShape(RoundedRectangle(cornerRadius: 1, style: .continuous))
            .onChange(of: text) { result in
                text = String(text.prefix(characterLimit))
            }
    }
}
Create visible character counter
Now we have created the limit function itself and that is all good, but we need to visualize how many characters the user has typed and how many there are left.
We will do this by creating a state variable that holds how many characters the user has typed and then create a TextField that displays the count and how many characters the user has left:
import SwiftUI

struct TextEditorTextLimitView: View {
    @State var text: String = ""
    @State var characterLimit: Int = 280
    @State var typedCharacters: Int = 0

    var body: some View {
        VStack {
            TextEditor(text: $text)
                .padding()
                .frame(width: 300, height: 200)
                .border(Color.gray, width: 1)
                .clipShape(RoundedRectangle(cornerRadius: 1, style: .continuous))
                .onChange(of: text) { result in
                    typedCharacters = text.count
                    text = String(text.prefix(characterLimit))
                }

            Text("\(typedCharacters) / \(characterLimit)")
                .foregroundColor(Color.gray)
                .padding(.leading, 240)
        }
    }
}
The result:

That’s it, we have created a TextEditor with a character limit, and because we created it in its own view we can use it anywhere in our application like:
TextEditorTextLimitView()If you want to pass the text value in the TextEditor back to the parent view, just change the text variable from State to Binding.
Create character limit as a modifier
We have created a TextEditor with a limit that displays the current limit and maximum limit — but sometimes you want to have the limit function on different text editors with different character limits. In those cases, it might be a bit easier to create and use a custom modifier.
The limit function is the same we will just create an extension that takes the character limit and the text:
extension View {
    func limitText(_ text: Binding<String>, to characterLimit: Int) -> some View {
        self
            .onChange(of: text.wrappedValue) { _ in
                text.wrappedValue = String(text.wrappedValue.prefix(characterLimit))
            }
    }
}
How now you can just use it as any other modifier:
TextEditor(text: $text)
  .padding()
  .frame(width: 300, height: 200)
  .border(Color.gray, width: 1)
  .clipShape(RoundedRectangle(cornerRadius: 1, style: .continuous))
  .limitText($text, to: 280) //<-- text limit modifier.
Wrap up character limit TextEditor in SwiftUI
In this blog post, we have created a text editor with a character limit and we have created it both as its own view and as an extension. Personally, I like to have a function like this in its view because it’s easy to have the same style throughout the application and it’s easy to add things like the counter.
I hope you liked the article and can use it in your next application 🙂