It is important to ensure a smooth and delightful user experience thougth out your app. In iOS 15 Apple have introduced SwiftUI confirmationDialog that can help us with just that. SwiftUI confirmationDialog is a easy way for you as a developer to show a dialog with multiple choices, provide a title and a hint message to make sure your users know what to do.
In this blog post we will explore what SwiftUI confirmationDialiog is, how it works and give examples on how to use it in your own app.
SwiftUI ConfirmationDialog basic example
Let’s start with the first question: How to use confirmation dialog in SwiftUI?
Let’s start with a simple example of a SwiftUI confirmationDialog. In this scenario, we’ll create a button that, when clicked, shows a confirmationDialog with three options: Yes, no and Cancel.
Button {
     isShowingConfirmationDialog.toggle()
 }label: {
     Text("Show confirmation dialog")
 }
 .confirmationDialog("Confirmation dialog", isPresented: $isShowingConfirmationDialog) {
     Button("Yes") { }
     Button("No", role: .destructive) { }
     Button("Cancel", role: .cancel) {}
 }
The result:
As you can see, it’s pretty easy to make a simple confirmation dialog. And the button’s is regular SwiftUI buttons, so you can set the title to what you want and the action do what you want.
SwiftUI confirmation dialog title
If you want a title for your confirmationDialog, you can easily add it. As you might have noticed we already added a title called “Confirmation dialog” as the first parameter but it’s current state is hidden.
To make the title visible we need to use the parameter called titleVisibility and set it to visible.
Button {
isShowingConfirmationDialog.toggle()
}label: {
Text("Show confirmation dialog")
}
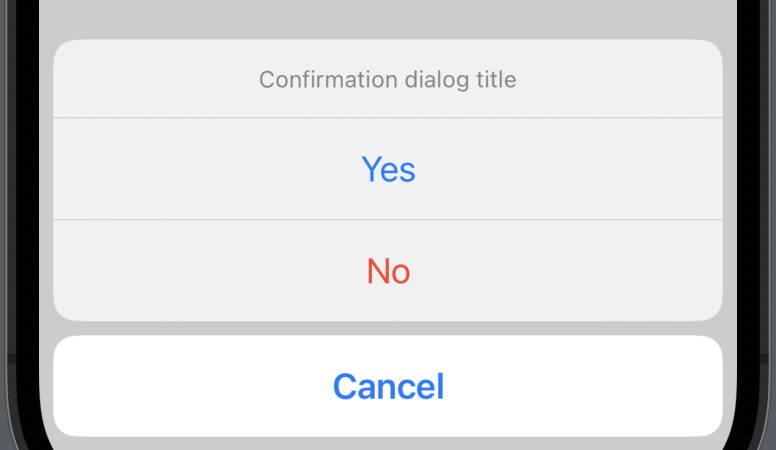
.confirmationDialog("Confirmation dialog title",
isPresented: $isShowingConfirmationDialog,
titleVisibility: .visible) {
Button("Yes") { }
Button("No", role: .destructive) { }
Button("Cancel", role: .cancel) {}
}The result:
SwiftUI confirmationDialog message
If the title is not enough and you want to help the users a bit more, you can use the message modifier.
The message for your confirmation dialog should be short and you can think of it as a little hint text — like when you hover a label on a website.
Button {
isShowingConfirmationDialog.toggle()
}label: {
Text("Show confirmation dialog")
}
.confirmationDialog("Confirmation dialog title",
isPresented: $isShowingConfirmationDialog,
titleVisibility: .visible) {
Button("Yes") { }
Button("No", role: .destructive) { }
Button("Cancel", role: .cancel) {}
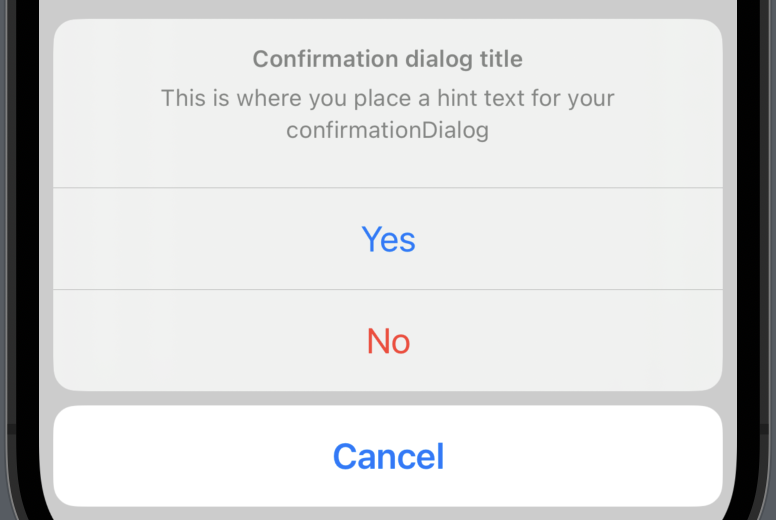
} message: {
Text("This is where you place a hint text for your confirmationDialog")
}The result:
Conclusion
SwiftUI confirmationDialog is a fantastic tool for enhancing your app’s user interactions and preventing unintended actions. By utilizing this the confirmationDialog, you can create personalized and context-aware dialogs, improving your app’s overall user experience.
I hope you found this blog post helpful 🙂