User input is an essential part of any application. Without it, apps would be static and unresponsive. To enable user input, developers rely on various tools and widgets to make it as easy and intuitive as possible. One such tool is the SwiftUI Stepper, which allows users to input numerical values in a simple and elegant way.
In this blog post, we will explore the SwiftUI Stepper, how to use it, and why it’s a good idea to use it in your apps. We’ll also look at some use cases where the Stepper can be useful.
What is SwiftUI Stepper?
The Stepper is a control in SwiftUI that allows users to increment or decrement a numerical value by tapping on buttons or swiping on the screen. It can be used to input values such as quantity, age, or any other numerical value required by the app.
The Stepper widget is made up of two buttons and a label. The label displays the current value of the stepper, and the buttons allow the user to increment or decrement the value. By default, the Stepper increments or decrements the value by 1, but this can be customized to any value required by the app.
Basic example of how to use SwiftUI Stepper
Using the Stepper control in SwiftUI is straightforward. Here’s the most basic use.
You need a Binding to a value and parse that value to the Stepper, and then the Stepper will take care of the rest:
import SwiftUI

struct ContentView: View {
    @State var stepperValue: Int = 0

    var body: some View {

        VStack {
            Stepper("Stepper value: \(stepperValue)",
            value: $stepperValue,
            in: 0...99)
        }
    }
}

struct ContentView_Previews: PreviewProvider {
    static var previews: some View {
        ContentView()
    }
}
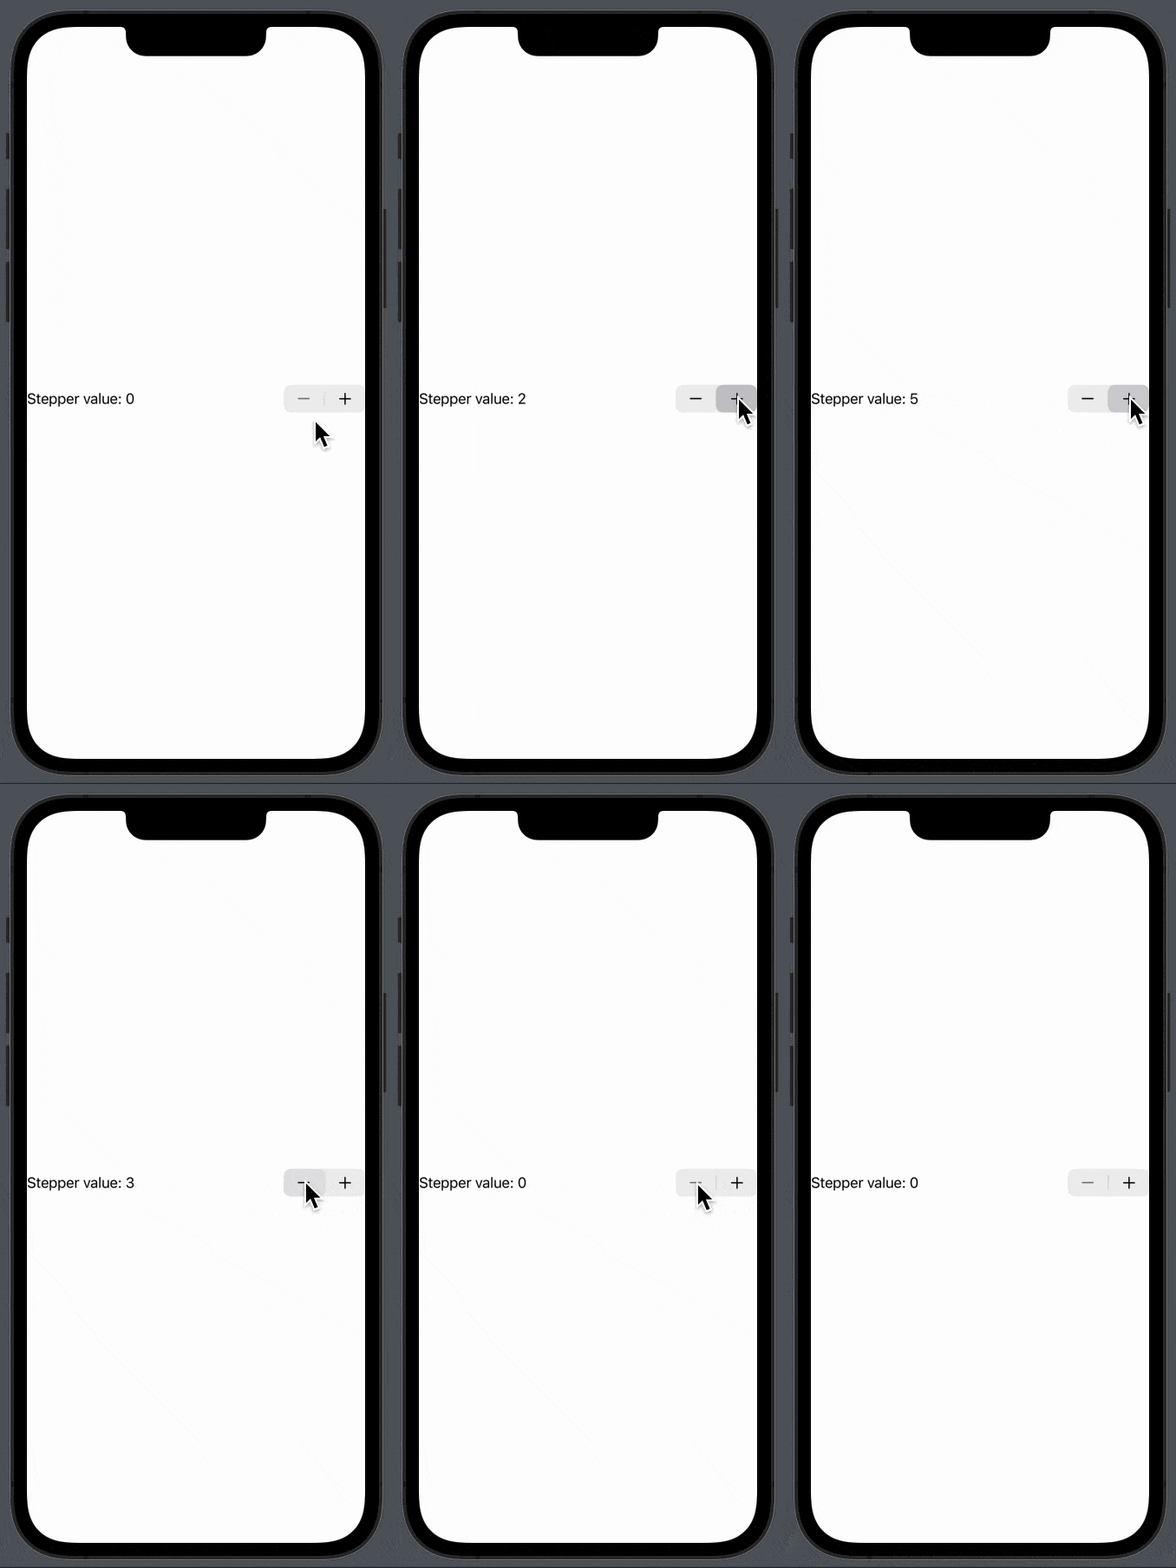
The code above will produce the following result:

Stepper value increment
By default, the stepper increments the value by 1, but let’s say you want it to increment by 3, you simply add the step parameter and choose 3:
Stepper("Stepper value: \(stepperValue)",
        value: $stepperValue,
        in: 0...99,
        step: 3)
The above code will produce the following result:

SwiftUI stepper with Double
So far we have learned how to use the stepper and we now know how to change in increment value. Now it’s time to learn how to use a double value instead of an int.
You might think all you need to do is to change the step value and the value binding — and you are absolutely correct.
import SwiftUI

struct ContentView: View {
    @State var stepperValue: Double = 0.0

    var body: some View {

        VStack {
            Stepper("Stepper value: \(stepperValue)",
            value: $stepperValue,
            in: 0...99,
            step: 0.5)
        }
    }
}

struct ContentView_Previews: PreviewProvider {
    static var previews: some View {
        ContentView()
    }
}
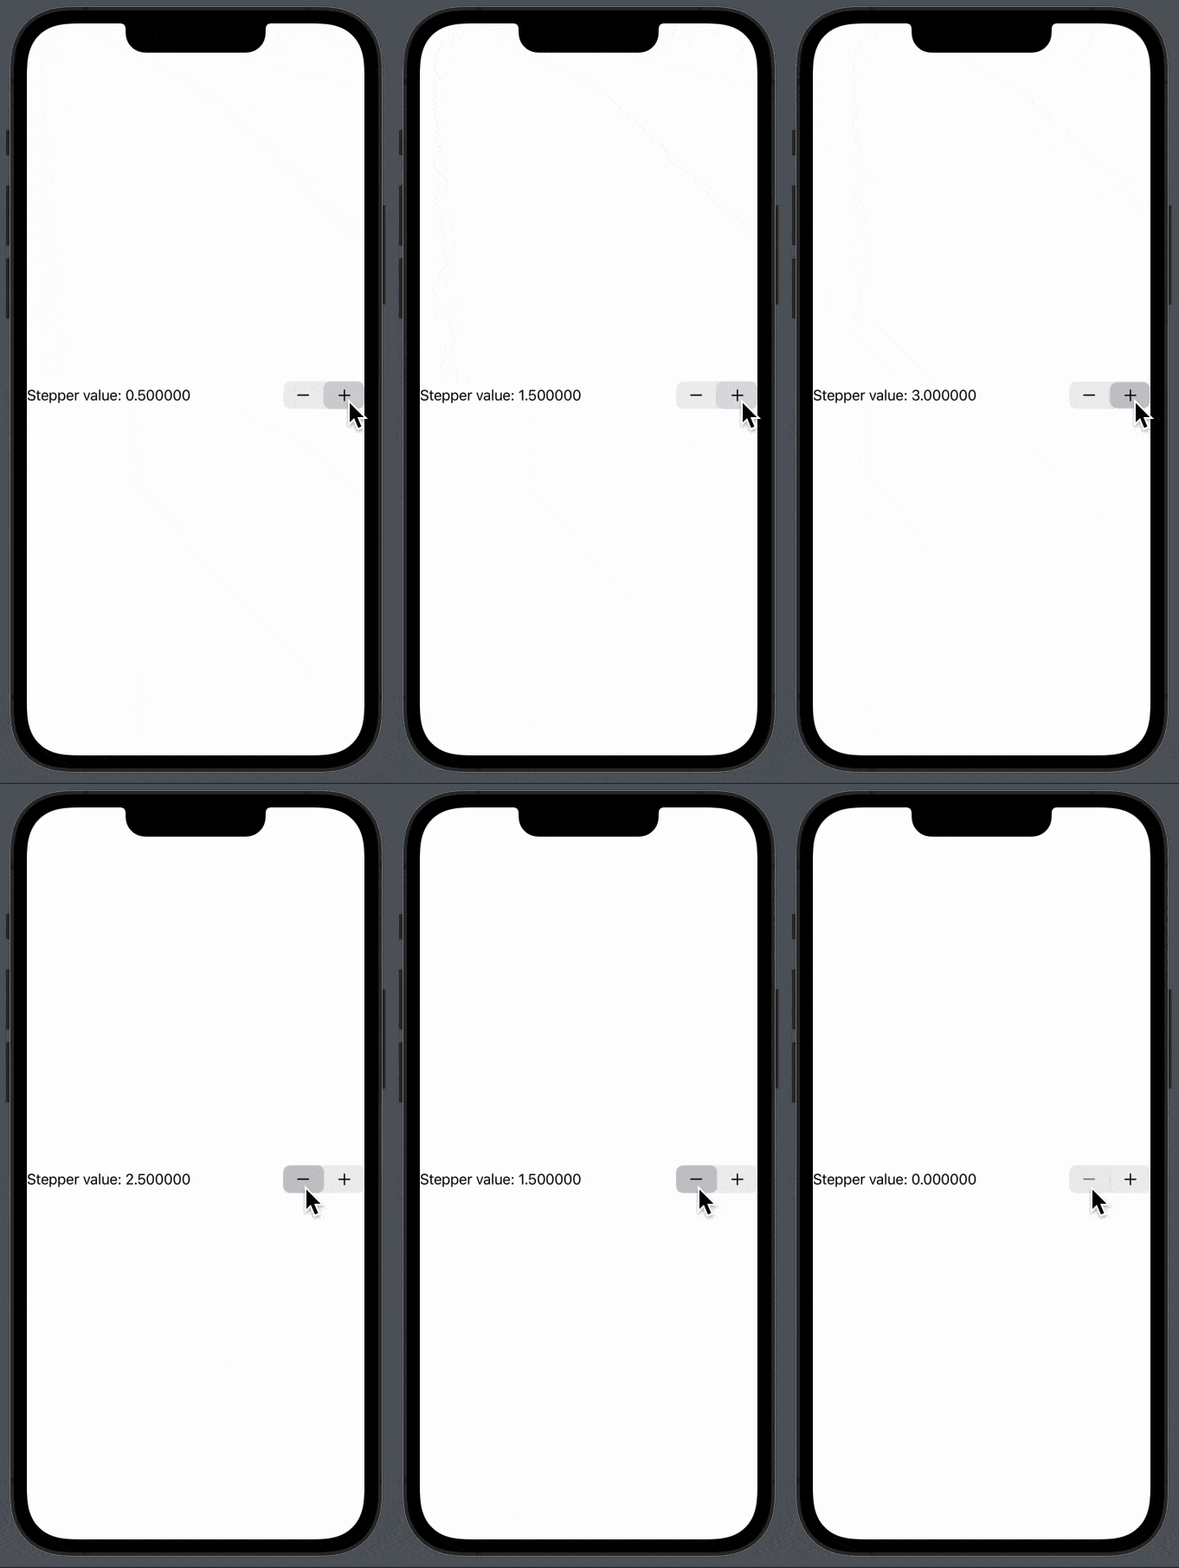
The above code will produce the following view:

As you can see there are many decimals, you can remove them by adding specifier: “%.2f” to the stepperValue — then you will only have two decimals:
Stepper("Stepper value: \(stepperValue, specifier: "%.2f")",
  value: $stepperValue,
  in: 0...99,
  step: 0.5)
Stepper use cases
There are many use cases for the Stepper and here there are just a few examples of the many use cases of the Stepper view in SwiftUI.
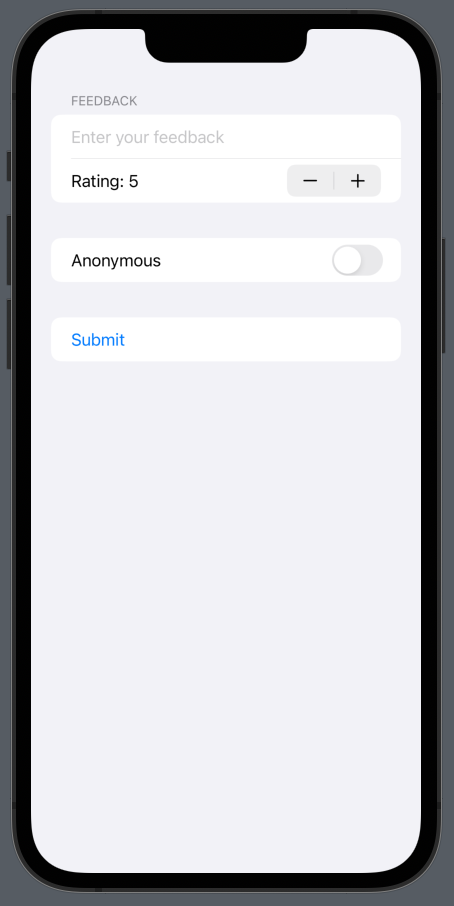
Stepper in form as feedback rating and initial value as 5
You often see the Stepper as a part of a Form and is an easy way to get feedback from 1 to 10:
import SwiftUI

struct ContentView: View {
    @State var rating: Int = 5
    @State var feedbackText: String = ""
    @State var isAnonymous: Bool = false

    var body: some View {

        Form {
            Section(header: Text("Feedback")) {
                TextField("Enter your feedback", text: $feedbackText)
                Stepper("Rating: \(rating)", value: $rating, in: 1...10)
            }
            Section {
                Toggle("Anonymous", isOn: $isAnonymous)
            }
            Section {
                Button("Submit") {
                    // Submit feedback
                }
            }
        }
    }
}

struct ContentView_Previews: PreviewProvider {
    static var previews: some View {
        ContentView()
    }
}
The above code will produce the following form:

SwiftUI Stepper FAQ
SwiftUI Stepper remove spacing between label and buttons
All you need to do is add .fixedSize()
Stepper("Stepper value: \(stepperValue)",
  value: $stepperValue,
  in: 0...99,
  step: 1)
   .fixedSize() //<--- Add this