In this blog post, we cover how to create a launch screen in SwiftUI, exploring why they’re not just a good idea, but a crucial element in crafting an exceptional user experience.
What is a Launch Screen?
A launch screen, often referred to as a splash screen, is a static image or animation displayed upon launching an application. It serves as a placeholder while the app loads its initial resources and prepares for user interaction. Traditionally, launch screens were simple, static images, but in modern app design, they’ve evolved into dynamic showcases of branding, creativity, and anticipation.
In this guide, we will make two different launch screens: A static and a animated one.
Remove the default launch screen
Before beginning implementing an awesome launch screen be sure to remove the default launch screen in the plist.
This can be done by going to: Targets -> Custom macOS/iOS Application Target Properties and deleting the one called “Launch screen”.

Implementing Launch Screens in SwiftUI
In this tutorial, we will create two different launch or splash screens if you will. We will make a launch screen with animations, where we will make an image pulse and one with a static image and a nice looking background color.
How do show a launch screen in SwiftUI
The first thing we need to do is to create a new SwiftUI view and make it visible when the app launches.
To make sure the first thing the user sees is our launch screen, we will make a condition in the first file our app sees — the file with the WindowGroup.
Create a new SwiftUI file called LaunchScreenView and add the following code in your file with WindowGroup (typically the file has the same name as your application):
import SwiftUI

@main
struct TutorialApp: App {
    var body: some Scene {
        @State var isLoading: Bool = true
        WindowGroup {
            if isLoading {
                LaunchScreenView()
            }else {
                //GO TO APP
            }
        }
    }
}
NB: The code above will always show the launch screen — so make sure to change the isLoading variable to false after the app has loaded.
SwiftUI launch screen without animations
First, we will create a launch screen with an image and a background color that complements the image.
I have found an image here — I recommend you find an image that matches the theme of your application and if it’s possible, use your app icon.
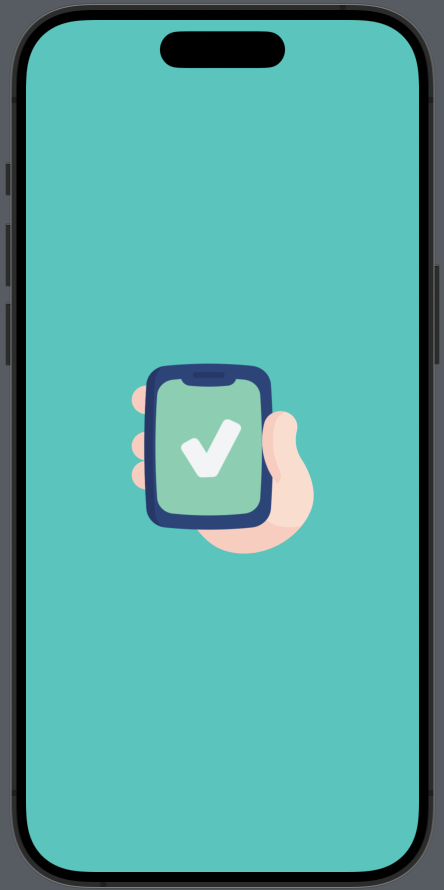
Now we will create a launch screen with a static image and a mint background:
import SwiftUI

struct LaunchScreenView: View {
    @State var isAnimating = false

    var body: some View {
        VStack {
            Spacer()
            Image("mobile-phone")
                .resizable()
                .frame(width: 200, height: 190)
            Spacer()
        }
        .frame(maxWidth: .infinity, maxHeight: .infinity)
        .background(Color.mint)
    }
}
The result:
SwiftUI animated launch screen
The next launch screen we will be making is the animated one. I like this one because it’s really easy to make and it makes the launch screen come to life. So when your application is loading, the user feels like it’s doing some actual work behind the scenes.
Next, we will display an image, apply a custom phase animator modifier to the image and then apply ease-in-out animation with a duration of 1 second:
import SwiftUI

struct LaunchScreenView: View {
    @State var isAnimating = false // <1>

    var body: some View {
        VStack {
            Spacer()
            Image("mobile-phone")
                .phaseAnimator([true, false]) { theImage, pushing in
                    theImage.scaleEffect(pushing ? 0.2 : 0.3)
                } animation: { pushing in
                        .easeInOut(duration: 1)
                }
            Spacer()
        }
        .frame(maxWidth: .infinity, maxHeight: .infinity)
        .background(Color.mint)
        .ignoresSafeArea()
    }
}
The result:
Wrap up launch screenin SwiftUI
While often overlooked, the launch screen in SwiftUI serves as the initial handshake between your app and its users. When meeting someone new the first impression matters, and the same counts when it comes to applications. Therefore make sure you create a nice looking launch screen that fits your theme.
We covered how you can create two different launch screens and I hope you can use this guide in your next application.
Happy coding out there 🙂