When creating a mobile app it’s important to notify the users when something happens like an API request went OK or failed. With SwiftUI Alerts, you can quickly inform users, gather input, and prompt them to take specific actions. In this article, we’ll explore the power of SwiftUI Alerts and learn how to leverage them to enhance user interaction in your apps.
SwiftUI basic alert example
To create an alert, use the Alert struct and pass in the message to be displayed, as well as any action buttons that should be included.
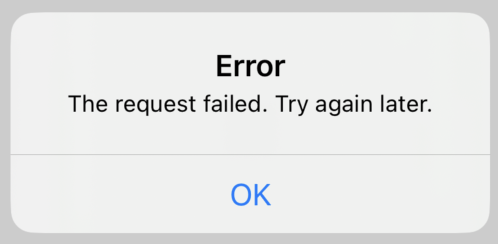
The following will display an alert with the title “Error” and the message “The request failed. Try again later.”, with a dismiss button labeled “OK”:
import SwiftUI

struct AlertContent: View {
    @State private var showingSimpleAlert = false

    var body: some View {
        VStack {
            Button(action: {
                self.showingSimpleAlert = true
            }) {
                Text("Simple Alert")
            }
            .alert("Error", isPresented: $showingSimpleAlert) {
            } message: {
                Text("The request failed. Try again later.")
            }
        }
    }
}
The result:
SwiftUI alert with input
In addition to displaying messages and buttons, SwiftUI Alerts can also include text fields to allow users to input information directly within the alert. This feature can be particularly useful when gathering user input or capturing data. Let’s explore how to create an alert with a text field in SwiftUI.
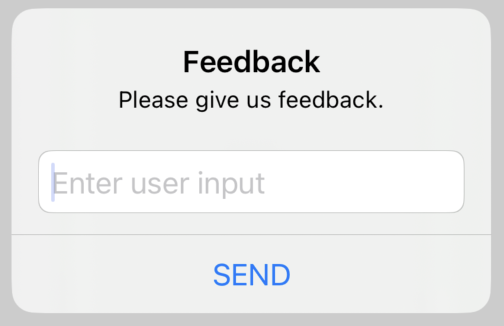
Here we will create an alert with a textField and when the user pressed the button called “SEND” it will execute the function called sendUserInput.
struct AlertContent: View {
    @State private var showingSimpleAlert = false
    @State private var userInput: String = ""
    var body: some View {
        VStack {
            Button(action: {
                self.showingSimpleAlert = true
            }) {
                Text("Simple Alert")
            }
            .alert("Feedback", isPresented: $showingSimpleAlert) {
                TextField("Enter user input", text: $userInput)
                Button("SEND", action: sendUserInput)

            } message: {
                Text("Please give us feedback.")
            }
        }
    }

    func sendUserInput() {
        print("Sending user input")
    }
}
The result:
Alert with multiple buttons in SwiftUI
With multiple buttons open up a world of possibilities for enhancing user interactions in your apps and luckily it is very easy to add multiple buttons.
In the following example, we add three buttons and we will assign different roles to them. The .cancel role makes the text bold and the .destructive makes the text red.
 .alert("Feedback", isPresented: $showingSimpleAlert) {
                TextField("Enter user input", text: $userInput)
                Button("SEND", action: sendUserInput)
                Button("Cancel", role: .cancel, action: {})
                Button("Delete", role: .destructive, action: {})

            } message: {
                Text("Please give us feedback.")
            }
The result:

Show multiple alerts in the same view
There are a few ways to show different alerts in a view and in the following examples I will show you two ways.
The quick way
I named this approach “The quick way” because the most straightforward way is to simply add one more button and one more .alert modifier:
struct AlertContent: View {
    @State private var isShowingAlertOne = false
    @State private var isShowingAlertTwo = false

    var body: some View {
        VStack {
            Button(action: {
                self.isShowingAlertOne = true
            }) {
                Text("Show alert one")
            }
            .alert(isPresented: $isShowingAlertOne) {
                Alert(title: Text("Alert one"), message: Text("This is alert one"), dismissButton: .cancel())
            }

            Button(action: {
                self.isShowingAlertTwo = true
            }) {
                Text("Show alert two")
            }

            .alert(isPresented: $isShowingAlertTwo) {
                Alert(title: Text("Alert two"), message: Text("This is alert two"), dismissButton: .cancel())
            }

        }
    }
}
The result:
This is a great way if you have two alerts, but as soon as you get over two it can become a bit much code in your view.
The enum way
This approach is called “The enum way” because we create an enum class and define what alert types we want:
enum AlertType {
    case AlertOne, AlertTwo
}

struct AlertContent: View {
    @State private var isShowingAlert = false
    @State private var alertType: AlertType = .AlertOne

    var body: some View {
        VStack {
            Button(action: {
                alertType = .AlertOne
                self.isShowingAlert = true

            }) {
                Text("Show alert one")
            }

            Button(action: {
                alertType = .AlertTwo
                self.isShowingAlert = true
            }) {
                Text("Show alert two")
            }
        }
        .alert(isPresented: $isShowingAlert) {
            switch alertType {
            case .AlertOne:
                return Alert(title: Text("Alert one"), message: Text("This is alert one"), dismissButton: .cancel())
            case .AlertTwo:
                return Alert(title: Text("Alert two"), message: Text("This is alert two"), dismissButton: .cancel())
            }
        }
    }
}
The result:

As you can see the result is the same, but the second approach with enums is a bit easier to maintain and it is easy to create more alerts in the same view without it becoming cluttered.
Conclusion
SwiftUI Alerts is a powerful tool in your iOS app development arsenal. With their ability to communicate information, capture user actions, and gather input, alerts greatly enhance the user experience. By following the techniques outlined in this article, you’ll be well on your way to creating engaging and interactive apps that keep your users informed and in control. So, start harnessing the power of SwiftUI Alerts today and take your app’s user experience to the next level.
Remember, effective user interaction is the key to success, and SwiftUI Alerts are here to help you achieve just that!