Shadows can add depth, dimension, and a touch of realism to your application.
In this blog post, we will discover how to use the shadow() modifier in effect on any view in SwiftUI and we will also cover how you can customize the shadow effect.
How do I add a shadow in SwiftUI?
In SwiftUI, shadows are implemented using the shadow() modifier. The shadow() modifier allows you to add shadows to any view, giving it a sense of elevation and depth. Shadows in SwiftUI can be customized according to your design requirements, including properties like color, radius, and opacity.
How do I add a shadow in SwiftUI?
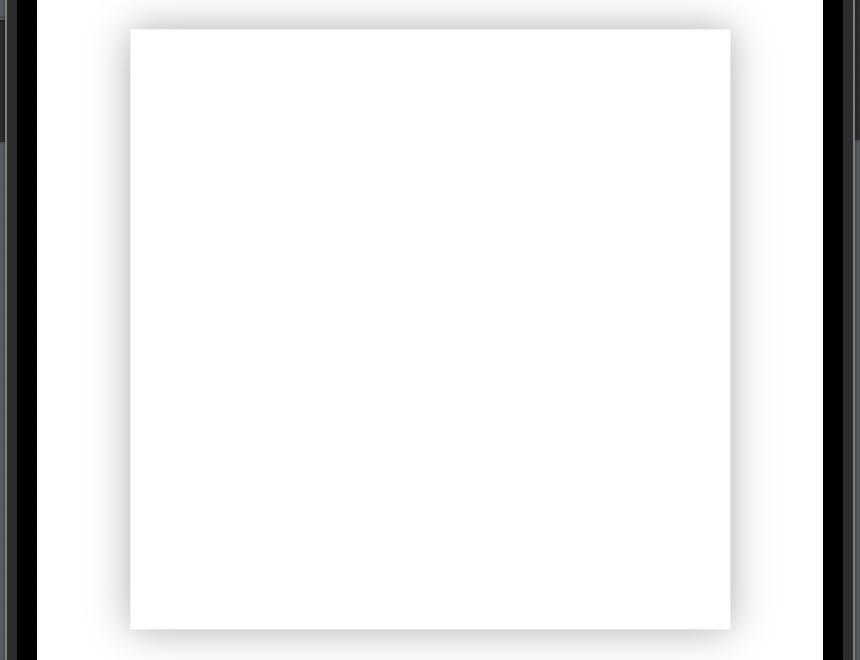
Let’s start with a basic example where we create a square and add shadows all around the square.
When applying shadow to an element you have to declare a radius radius. Radius is how large the shadow is.
In the following example, we create a white square with a shadow with a radius of 10:
import SwiftUI

struct ShadowView: View {
    var body: some View {
        VStack {
            Color.white
        }
        .frame(width: 300, height: 300)
        .shadow(
            radius: 10
        )
    }
}
The result:
SwiftUI shadow color
You can also modify the color of the shadow by using the color parameter.
By using different colors you can make some key elements standout.
In the following example, we will add a shadow to our box and make the shadow red:
import SwiftUI

struct ShadowView: View {
    var body: some View {
        VStack {
            Color.white
        }
        .frame(width: 300, height: 300)
        .shadow(
            color: Color.red,
            radius: 10
        )
    }
}
The result:

SwiftUI shadow offset
By default the shadow is all around the element you added shadow to but you might want the shadow more at the bottom than the top. For this requirement, you can use the offset parameters: x and y.
In the following example, we move the shadow a bit down by adding y = 30 and a bit to the right by adding x = 15:
import SwiftUI

struct ShadowView: View {
    var body: some View {
        VStack {
            Color.blue
        }
        .frame(width: 300, height: 300)
        .shadow(
            color: .primary,
            radius: 10,
            x: 15,
            y: 30
        )
    }
}
The result:

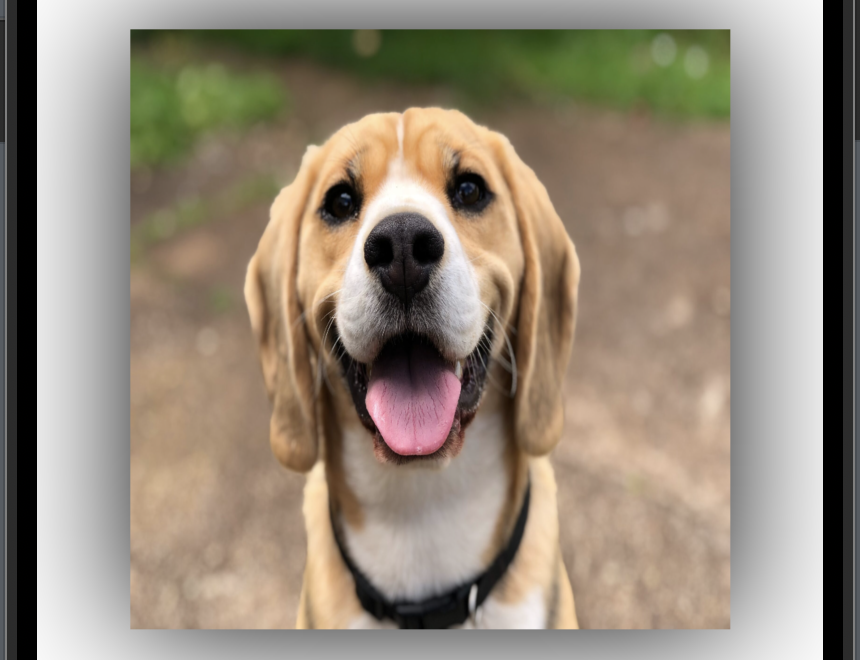
SwiftUI image shadow
You can add shadow to almost every SwiftUI element. One place where many add shadow is when displaying an image.
In the following code example, we will display an image and add a shadow to make it stand out:
import SwiftUI

struct ShadowView: View {
    var body: some View {
        Image("whosagooddog")
            .resizable()
            .frame(width: 300, height: 300)
            .shadow(
                color: Color.primary,
                radius: 35
            )
    }
}
The result:
Wrap up SwiftUI Shadow
By using SwiftUI’s shadow() modifier and customizing its properties, you can create stunning and unique experiences for your users.
We have covered the most basic examples and I am sure you are ready to implement the shadow feature in your application.
Happy coding 🙂